

N62 Z3 Part 14: Engine Refresh (Valve Stem Seals)
- Apr 29, 2021
- 7 min read
Updated: Oct 22, 2024
Edit from the future: I've done valve stem seal jobs since writing this below blog and I've had several people ask me about doing this job, so I decided that the most recent time I did it that I would write a more "tutorial" style post with some tricks I've learned over the years
The below blog post will remain unaltered
And now the moment you've all been waiting for...
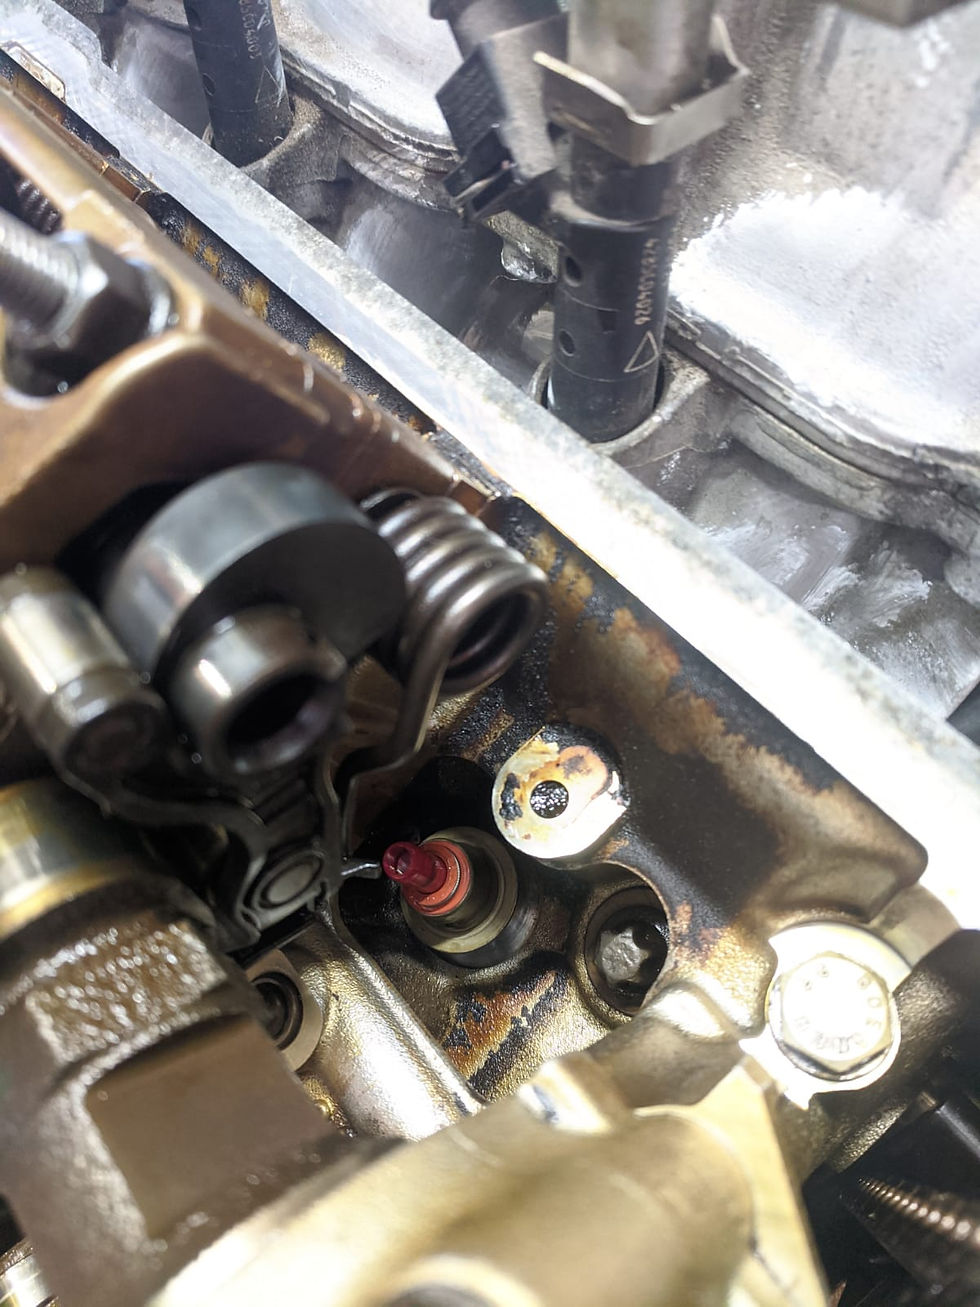
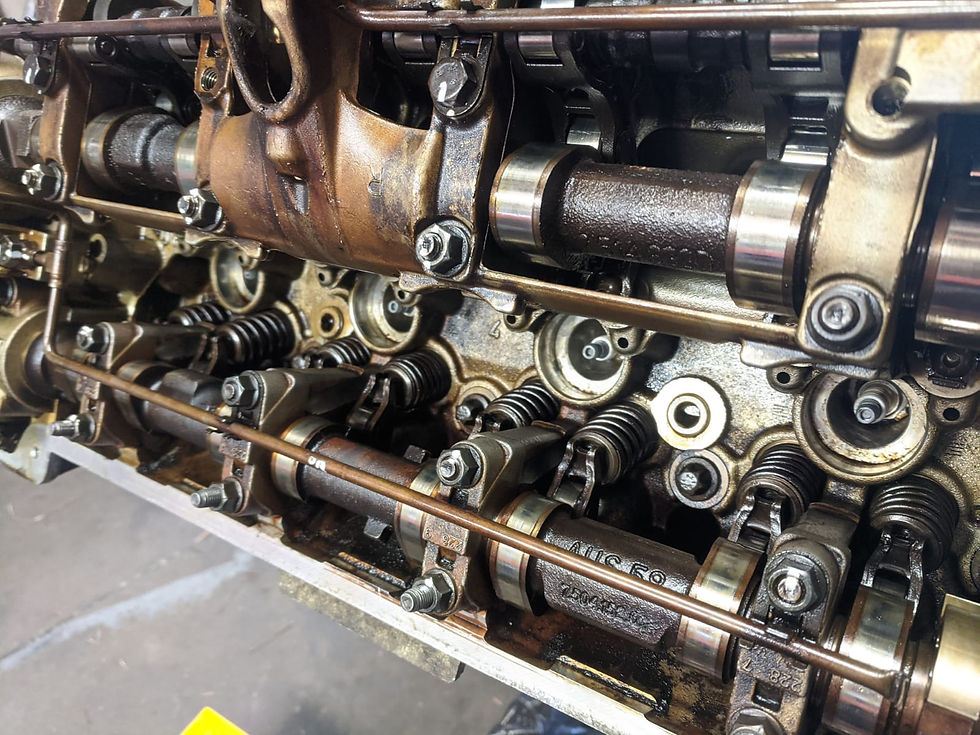
Valve stem seal tool installed
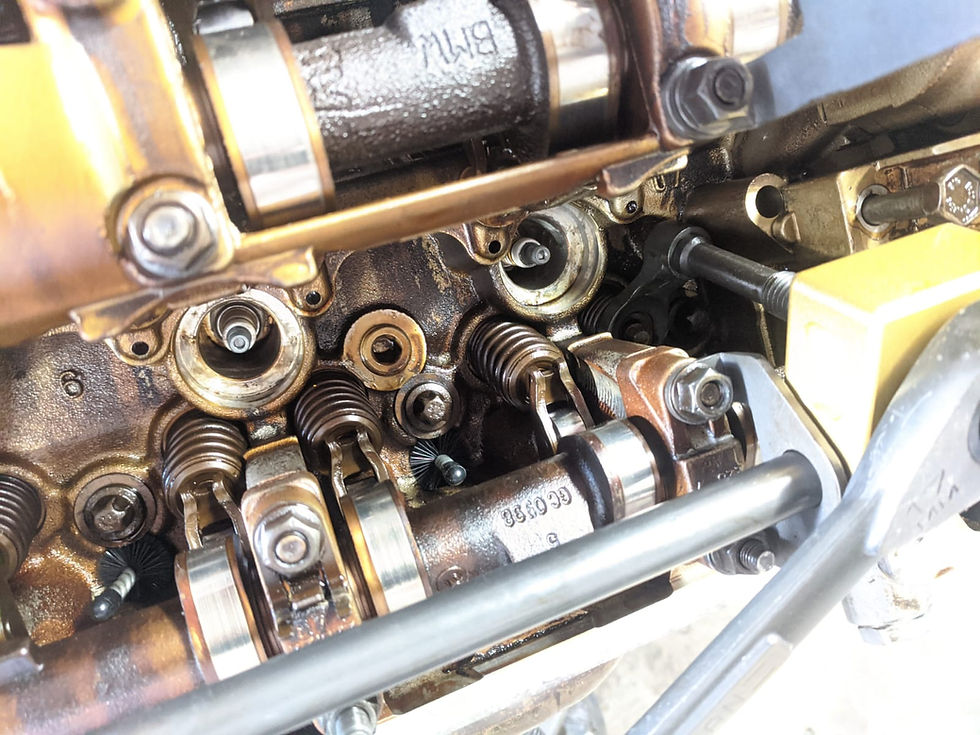

Spark plug removed. Dirty - likely original

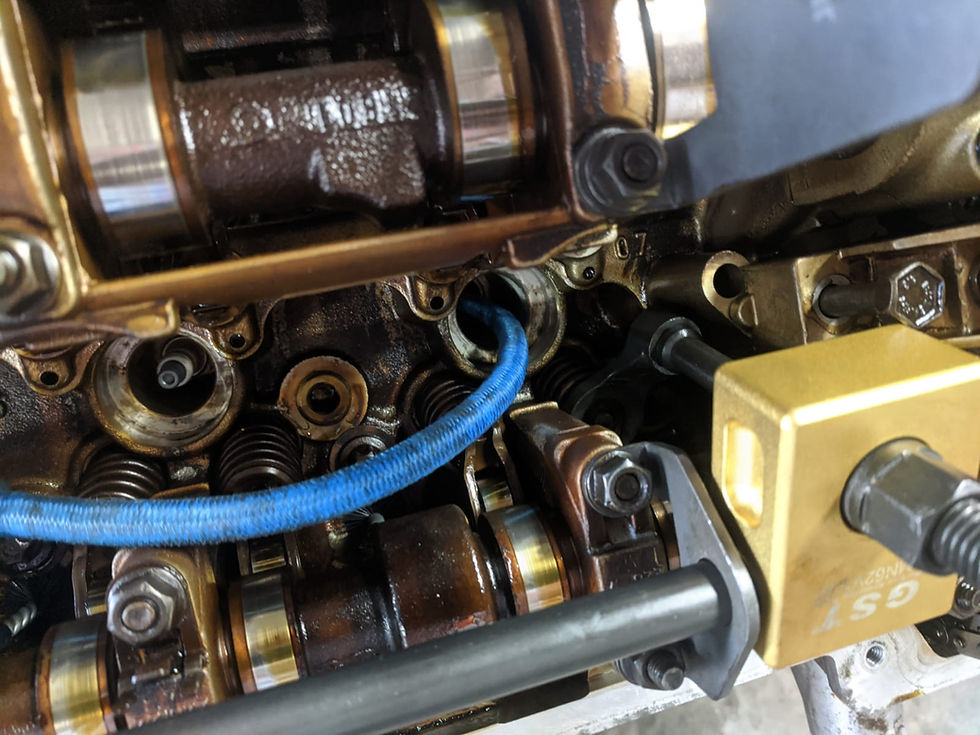
Bungee cord shoved in the cylinder at BDC then the engine is turned over until it gets tight
Rocker arm slid off

Tool compresses the valve spring, revealing the valve keepers on the top of the valve
With the valve keepers removed

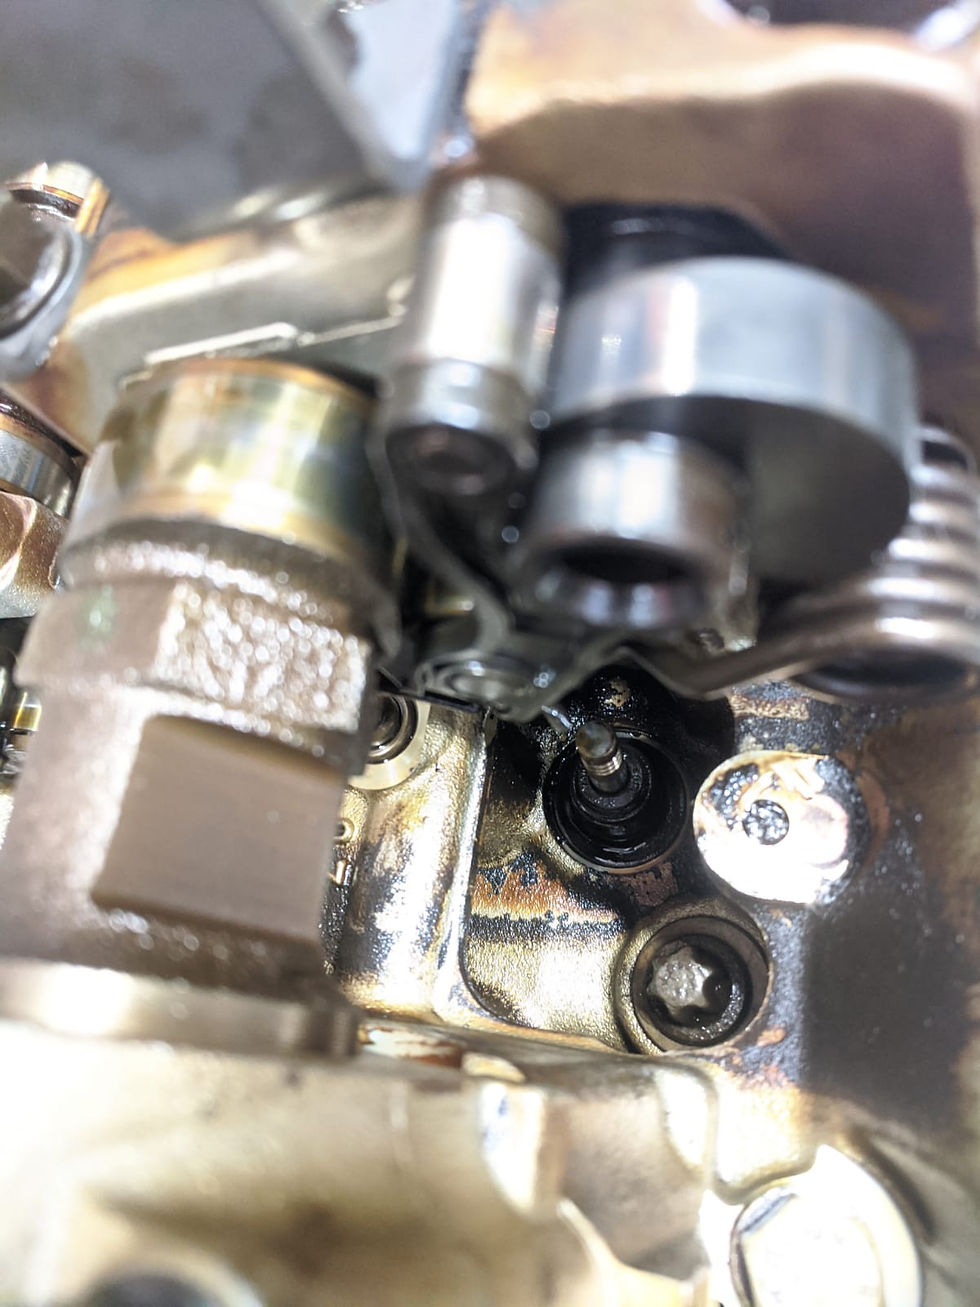
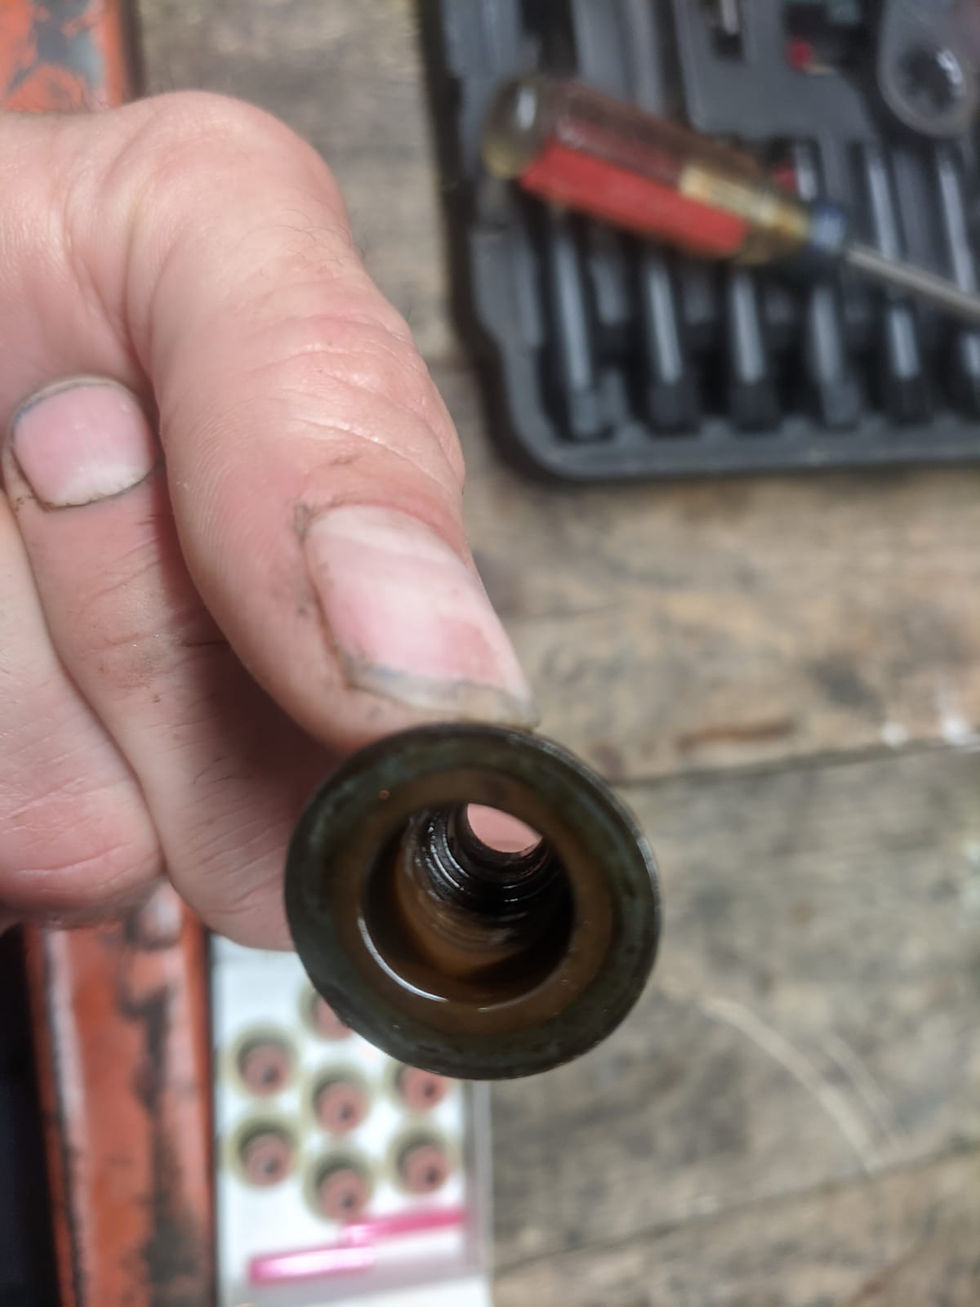
Then the tool is backed off, the spring assembly just removed by hand and the valve stem seal is accessible

With the valve stem seal removed. The area is also cleaned thoroughly - as the old seals deteriorate, leaving plasticized rubber bits behind, so its important to clean the area well so the new seal will seat properly

New elring klinger valve stem seal in place

Putting it all back together. On this particular valve, I got the keepers in on the first try, which felt like quite an accomplishment at the time and worth photographing but by the end - to be perfectly honest - I wasn't even using the tool. I didn't use the tool at all for the last 3 cylinders

This is the other exhaust valve on cylinder 1 - just a little better view of the new seal in place

My original plan was to completely do one valve stem seal as a proof of concept while I had some spare time one night. Then it was a kind of enjoyable process so I said ok lets do one cylinder... this is one of more accessible intake valves, this is the cylinder 1 intake valve
The area cleaned

New stem seal in place. Shown with the installation sleeve in place - the seals come with plastic sleeves you slide over the valves during installation, to protect the stem seal during installation
Then I was still having fun so I said hey lets do another cylinder. It didn't even occur to me until afterwards that technically, cylinder 2 is the "hardest" cylinder to do. With the rope method I didn't really have to think twice about it...
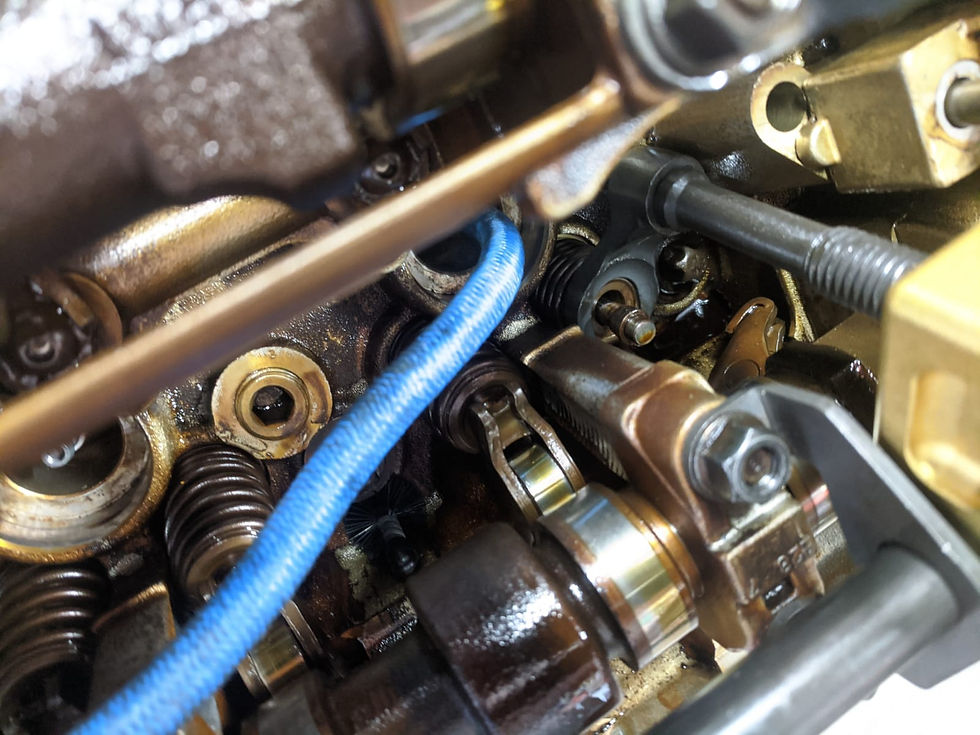
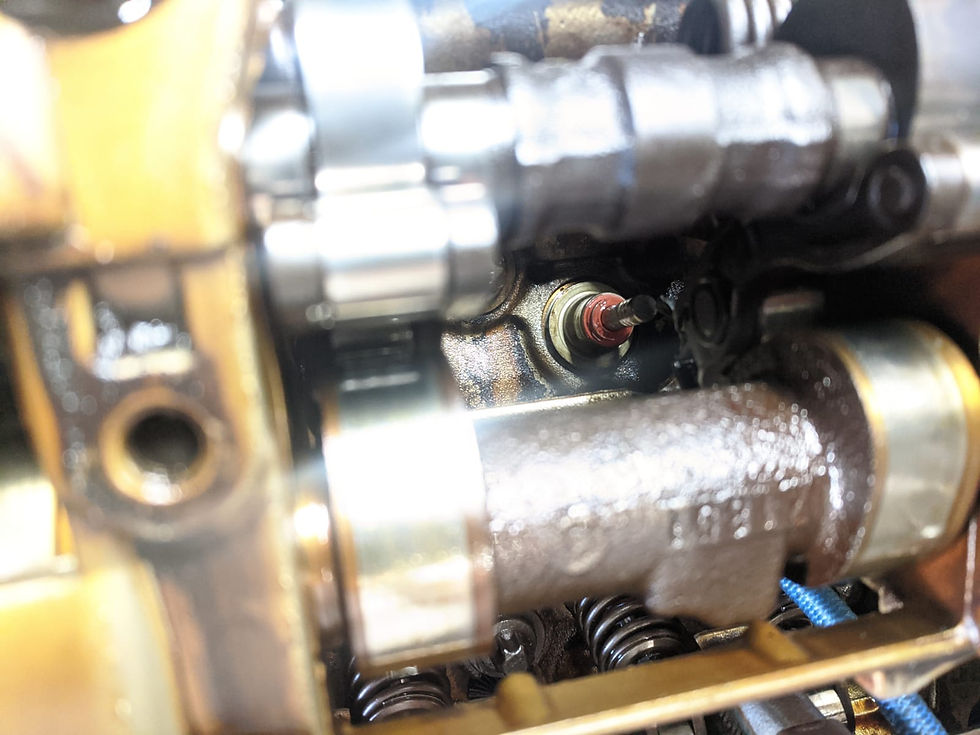
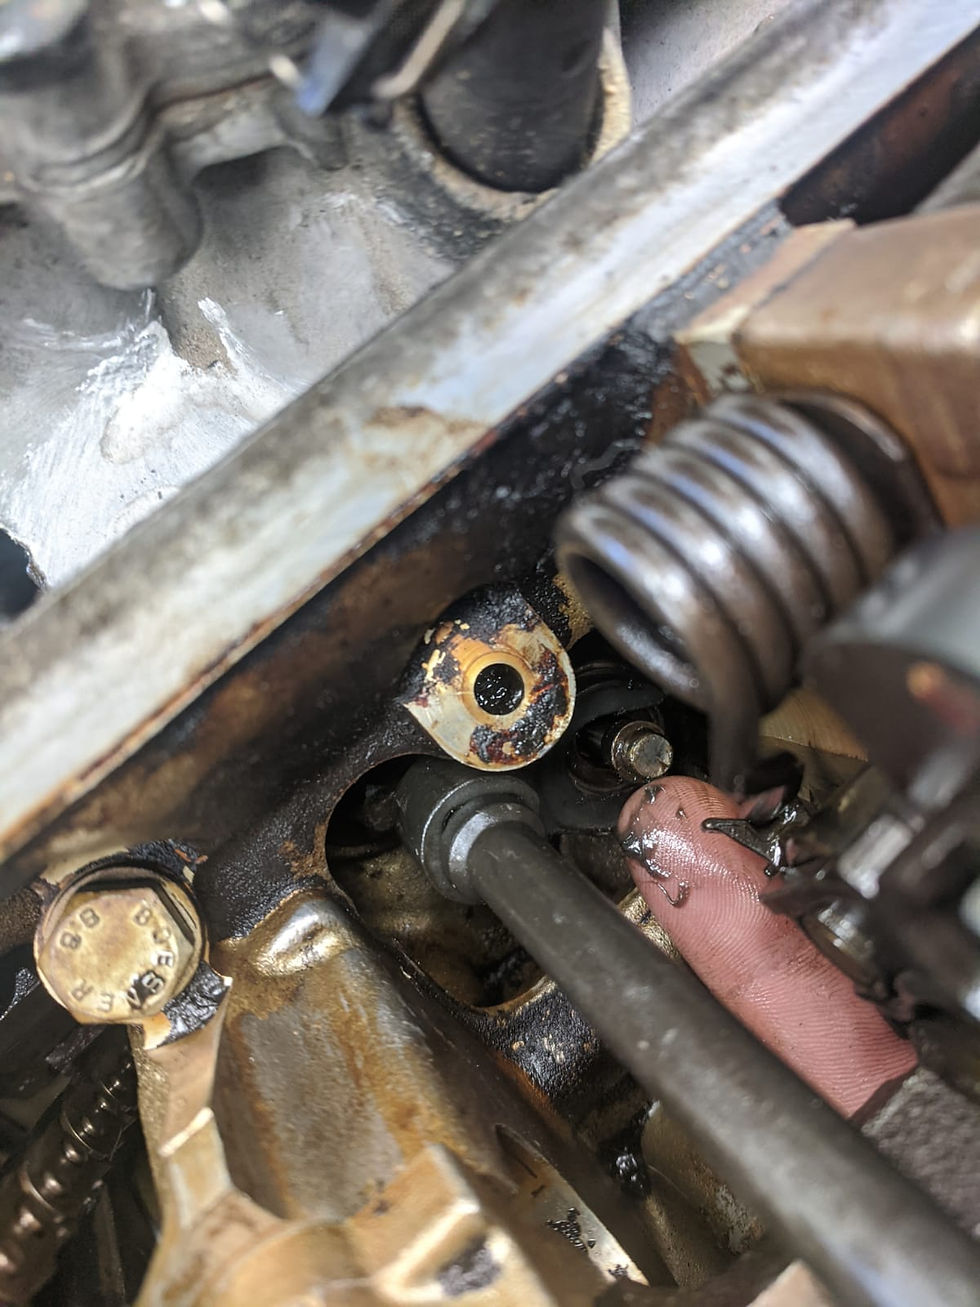
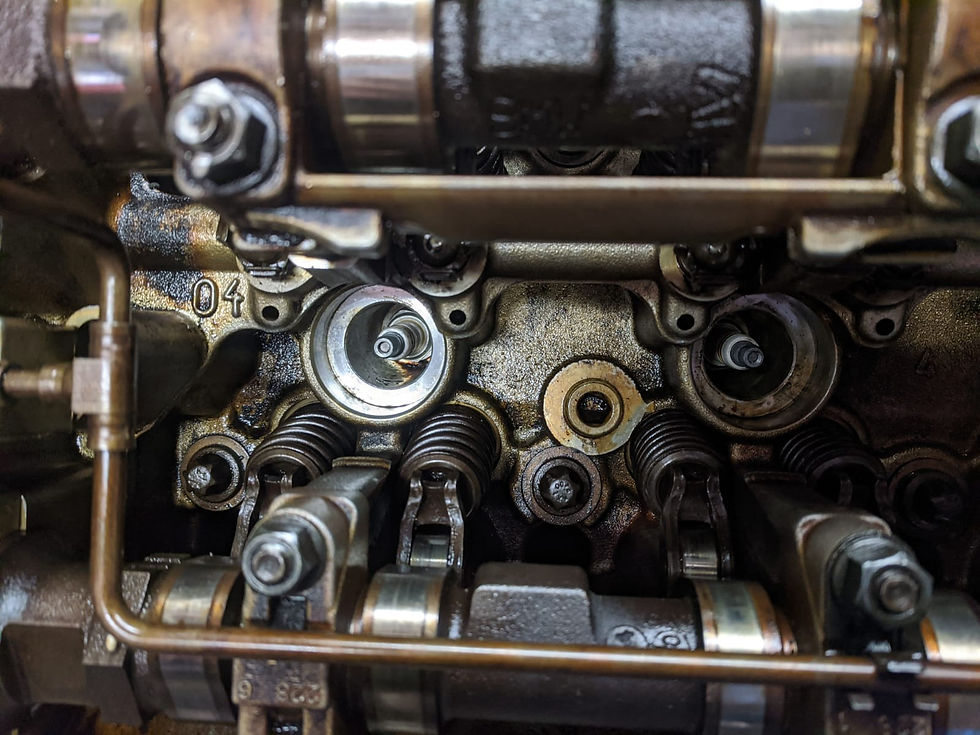
Very limited access and visibility on this cylinder. This upper raised assembly is the eccentric shaft - this is the Valvetronic assembly and how it varies the intake valve lift

View from below during removal

This area was difficult to clean the valve seat area but I figured out a method. My trick was to get the cloth draped around the backside of the valve, push it down into the seat area using my pliers, then pull it using downward force around the valve. This pulled the cloth around the valve and into the seat area and worked well to clean it

New stem seal in place
Keepers installed

The elring seals are supposed to be an improved design and possibly an improved material as well. However I did not notice any striking differences, although it was hard to tell what the original seals were supposed to look like and what was wear from ~100k miles. The elring seal do seem to have a couple extra ridges on the inside

Below is why cylinder 2 is the "trouble" cylinder. The video instructions say to leave it before TDC. The paper instructions say past TDC. Doing either, with air to hold the valves shut, leaves open the possibility of the engine doing one of two things: air forcing the engine to turn over (especially if past TDC) or air to leak past the opening in the valve and then lose air pressure in the cylinder (especially on the exhaust valve which don't have limited lift)
Either of those problems can cause the valve to drop into the cylinder and then your friendly neighborhood valve stem seal job becomes a full-on head gasket job as you need to remove the head to get the valve back out safely. So I was very relieved that the rope method worked well to avoid these issues. I think part of the reason for it working so well on cylinder 2 in particular is that you don't need the engine at TDC with the rope trick. The rope trick keeps the valves in place before TDC, well before TDC depending on how much rope you stuff in. You can vary the length stuffed in to vary where in the stroke the rope puts pressure on the valves. A few times, cam lobes got in the way so I would just pull some rope out to re-adjust. so I could rotate the engine over a little bit more which provided a lot of flexibility you don't have when working with air pressure. I don't think I will ever do this job with air

The first 8 that were done

You never really get a before and after shot with the valve stem seals because you have to do them one at a time - so this is about as close as you'll get. At the end I'll take a picture of all 32 of the old ones once they are out
The next day my yellow zinc plated nuts arrived for the intake manifold... GOOOOOLD

Test fit one to see how it looked. I'll need to clean the manifold a bit lol. When I got home later that day, a package from URO was there as well... the EPDM coolant pipe seals! It ends up, Viton does not play nicely long-term with Ethylene Glycol, which is a primary component of coolant. So the AGA "upgraded" seals I installed? Not so much an upgrade... URO contacted me about that after reading my build thread and sent seals for free as the coolant pipe has a lifetime warranty so that was pretty cool. So once the coolant seal is in, I can FINALLY button up the intake manifold for good and be done with the coolant pipe once and for all!

Then I went back to working on some valve stem seals... heres one of the hardest ones to do, pictured in place...
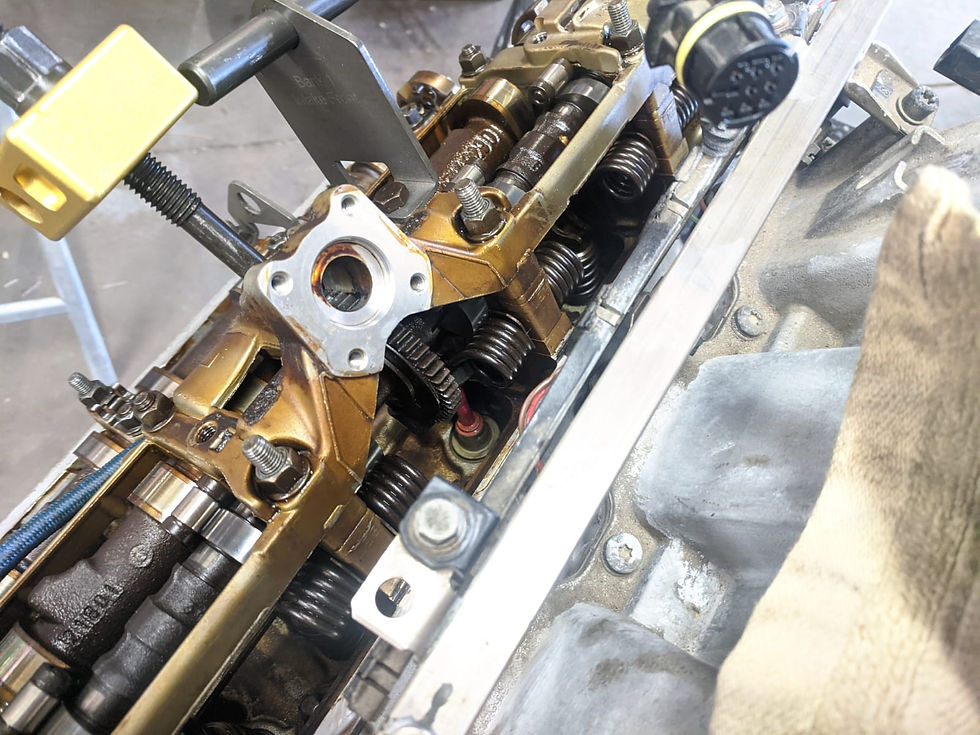
Halfway there!

And if you were curious how I was putting the keepers on without the tool...

Just using my long fingers... I'd get one on with a little grease (you use a little grease with the tool, too) and then spin it around to the opposite side, then pop the other one on

Taking a break from the valve steam seals to replace the coolant pipe seal with the proper seals from Uro

Uro EPDM seal in place


Then I was like hey the intake manifold is off again may as well wrap it in some gold tape right

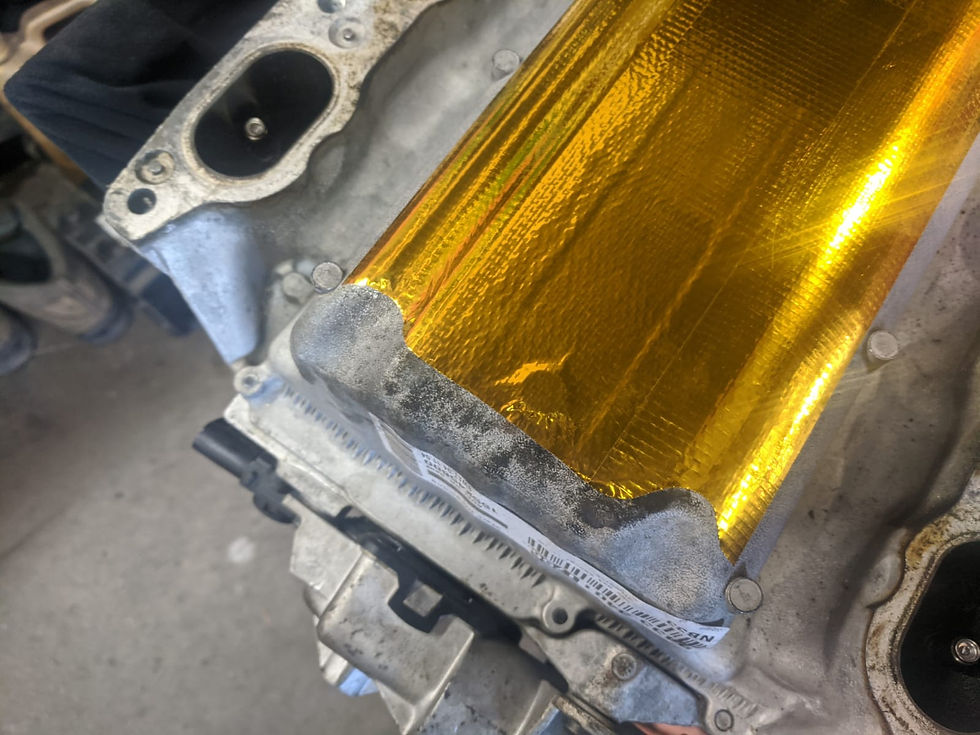

It was my first time working with this stuff and I really liked it. I think I did a pretty neat job too. If only I could weld as nice as I could tape... ironically, I had a fabricator looking at the car earlier and he suggested wrapping the firewall in this stuff. I'm kind of starting to like that idea...
Anyways, it was great to have the intake manifold bolted down for the final time. Don't mind the angle, I had the engine rotated for doing the valve stem seals

And then a bit later all 32 valve stem seals are done!
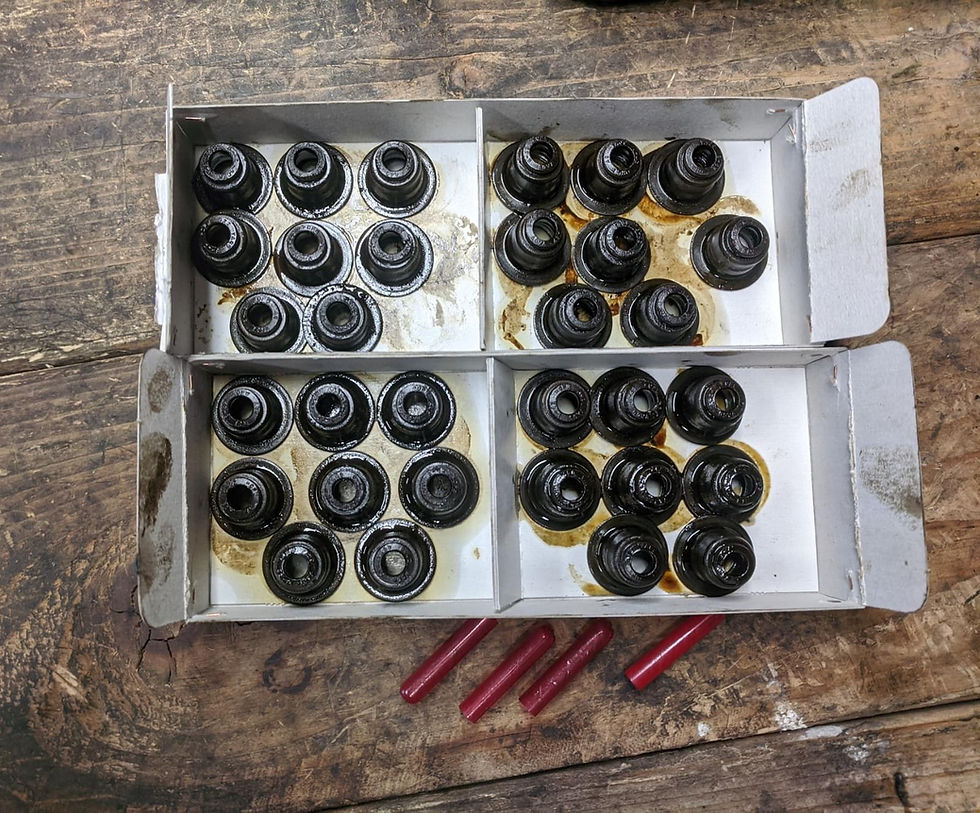
I even managed to save some of the little protector sleeves so I have some spares for next time
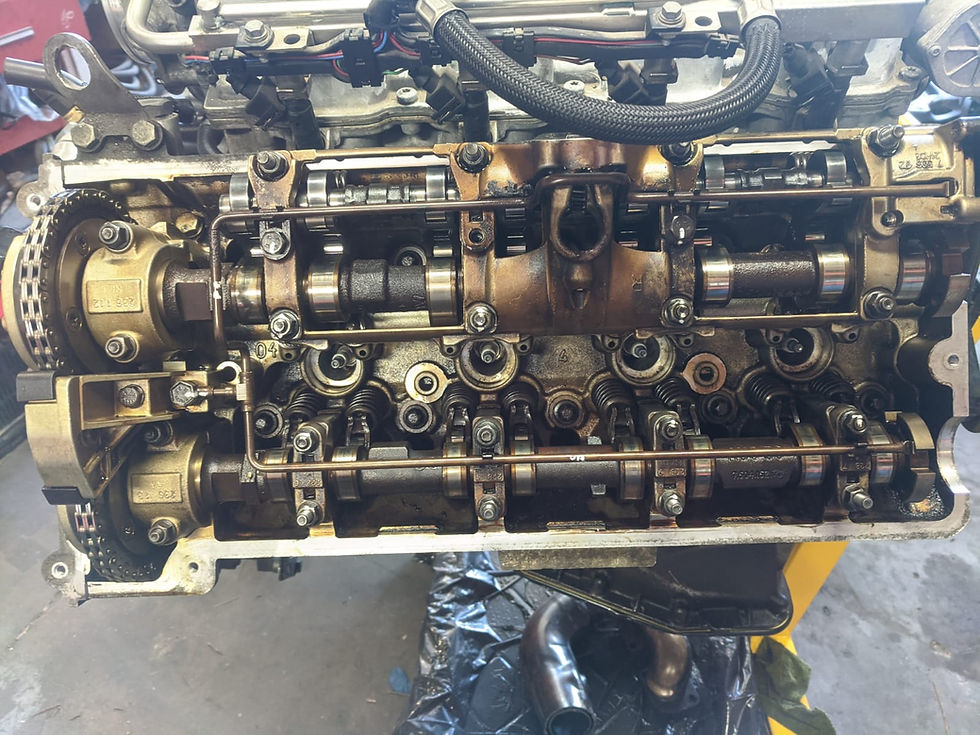
With the valve stem seals finally done it was time to refresh the valve covers and install them
First thing first was the oil feed line as well as re-torqueing to spec all the bolts which had been loosened to install the valve stem seal tool


Then cleaned the spark plug tube wells and installed those - left is clean, right is still dirty


I've learned from experience that some engines are ok with aftermarket valve cover gaskets and some are not... the N62 is one that prefers OE BMW valve cover gasket


I also had BMW drei bond to go along with it


Valve cover installed in place

Then these little rubber gasket donut bits
Some new bolts (as they have captive rubber washers)
New gasket for this guy (I think it's called the Valvetronic actuator spacer?)

Installed that spacer once the valve cover bolts were all snugged down

Installed the Valvetronic motor in place

Starting to look like an engine again...

Some new o-rings for the sensors
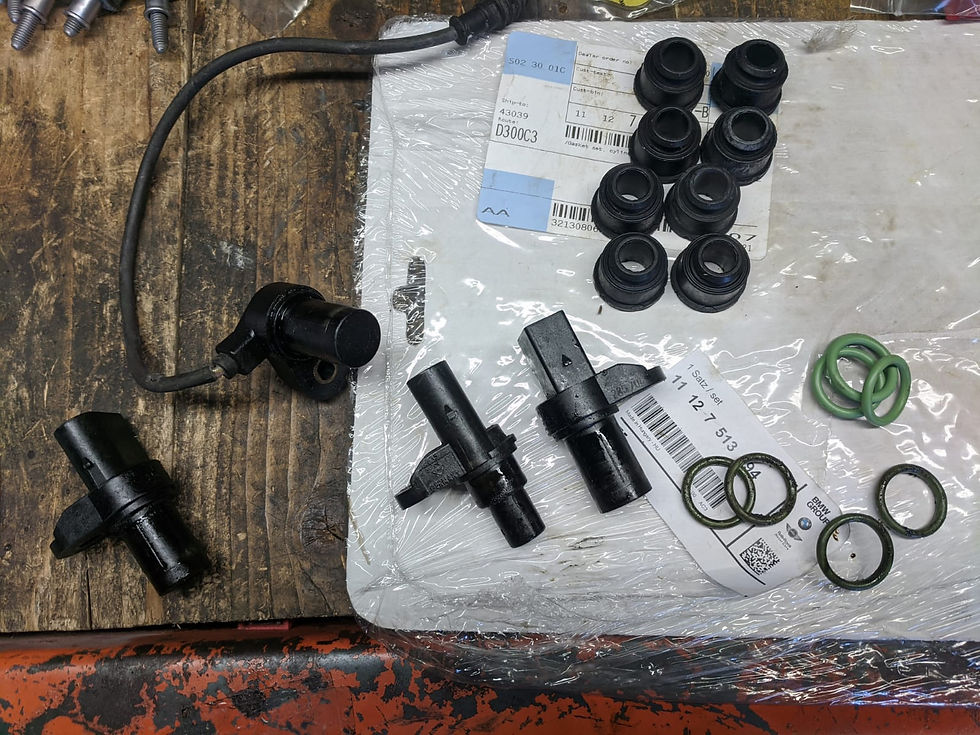
...I don't know why these look different from eachother. I put them back where they came from

With new gaskets in the rear and everything in place. This side is done

One more bank to go!
With the other side done, it was just about ready to roll

Installing the coil harness

And then the rest of the engine harness installed

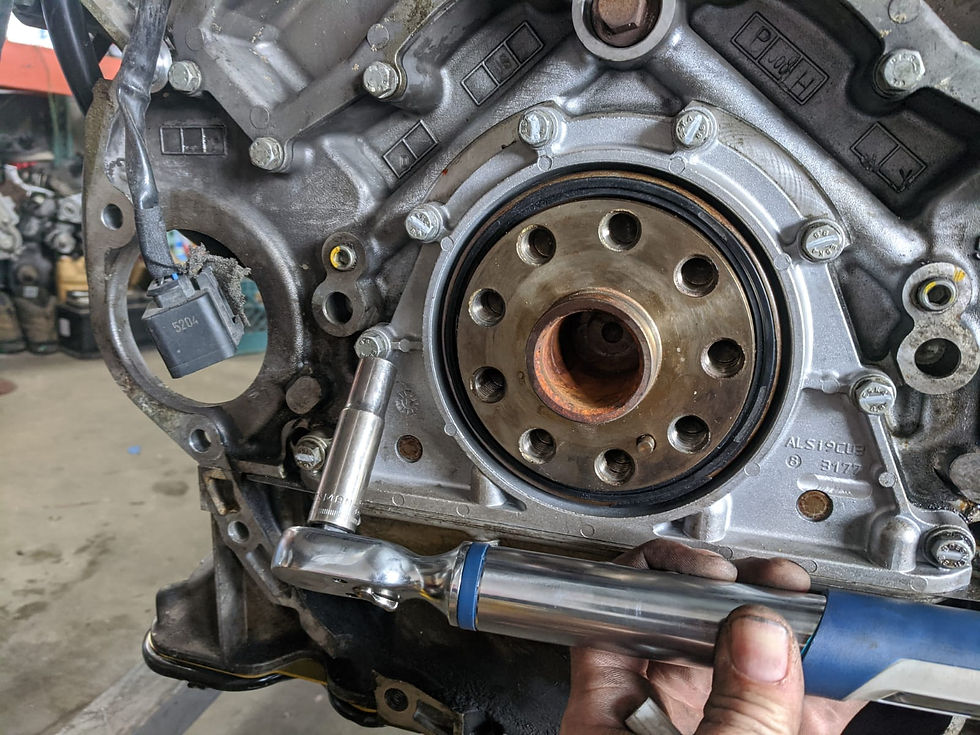
At this point there is really no need for it to be on a stand anymore, the next step will be to join it back with the transmission, so off it comes...

I took the opportunity to tighten that rear main seal bolt from earlier that I couldn't reach
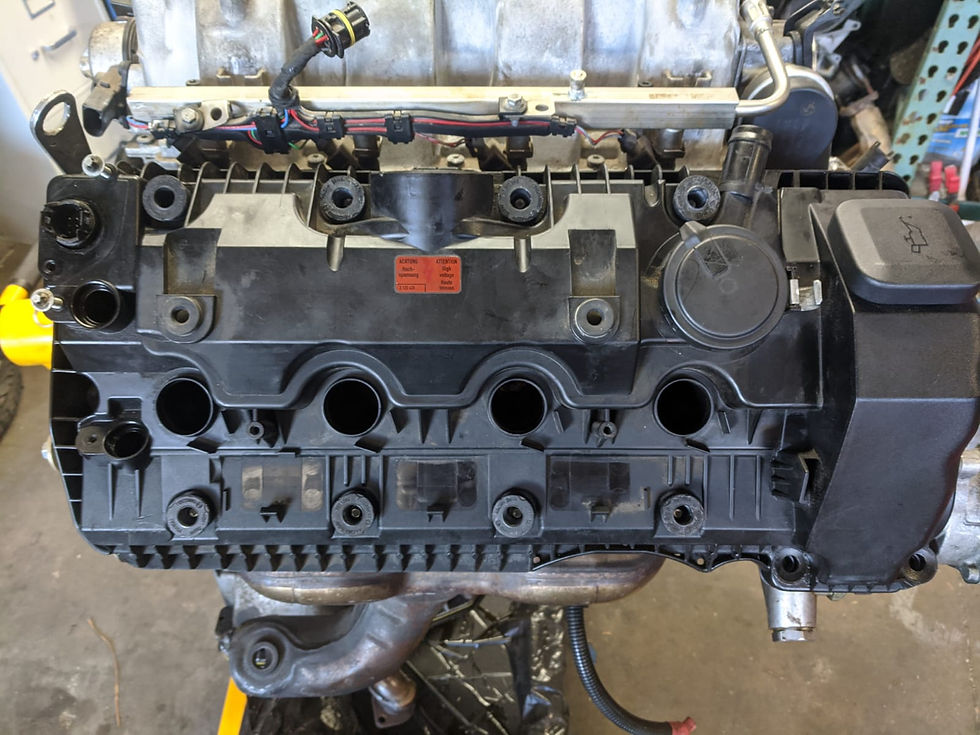
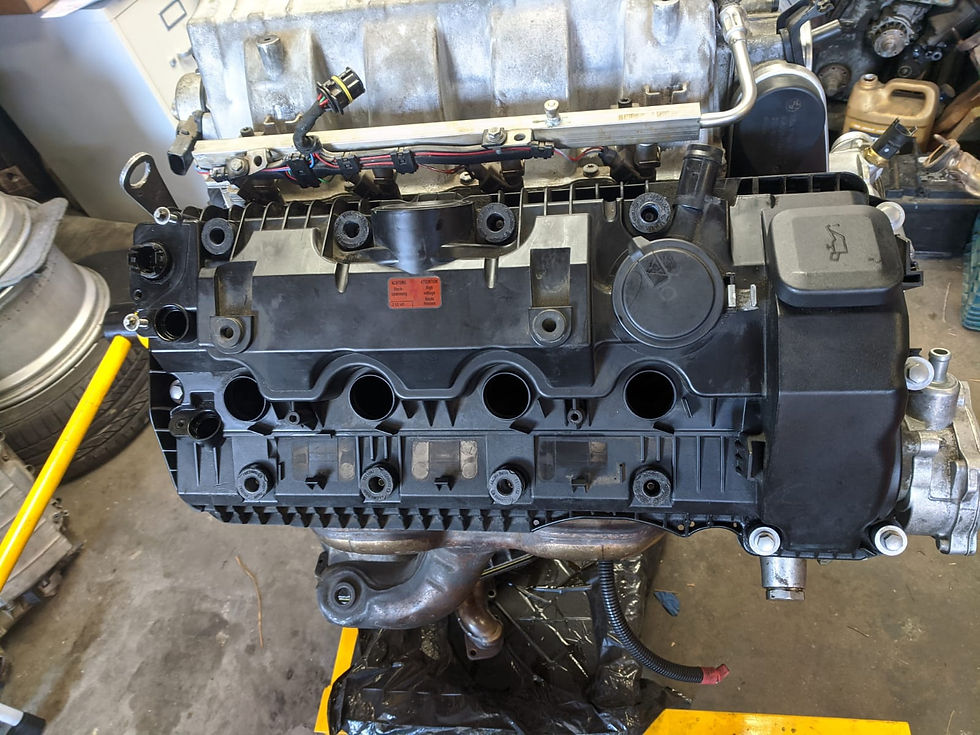
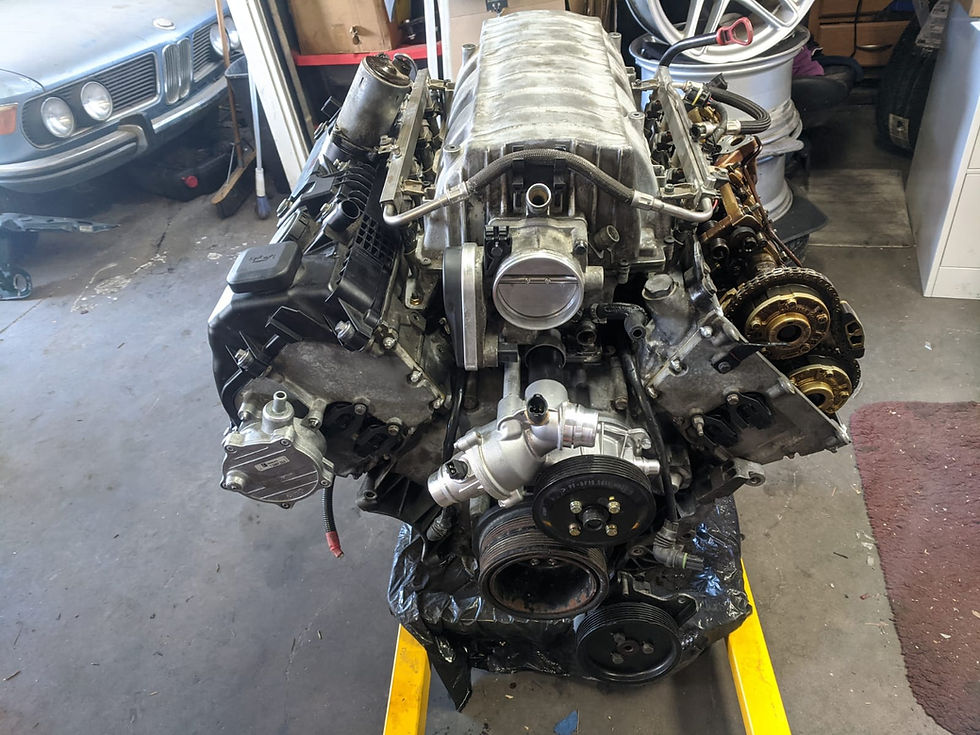
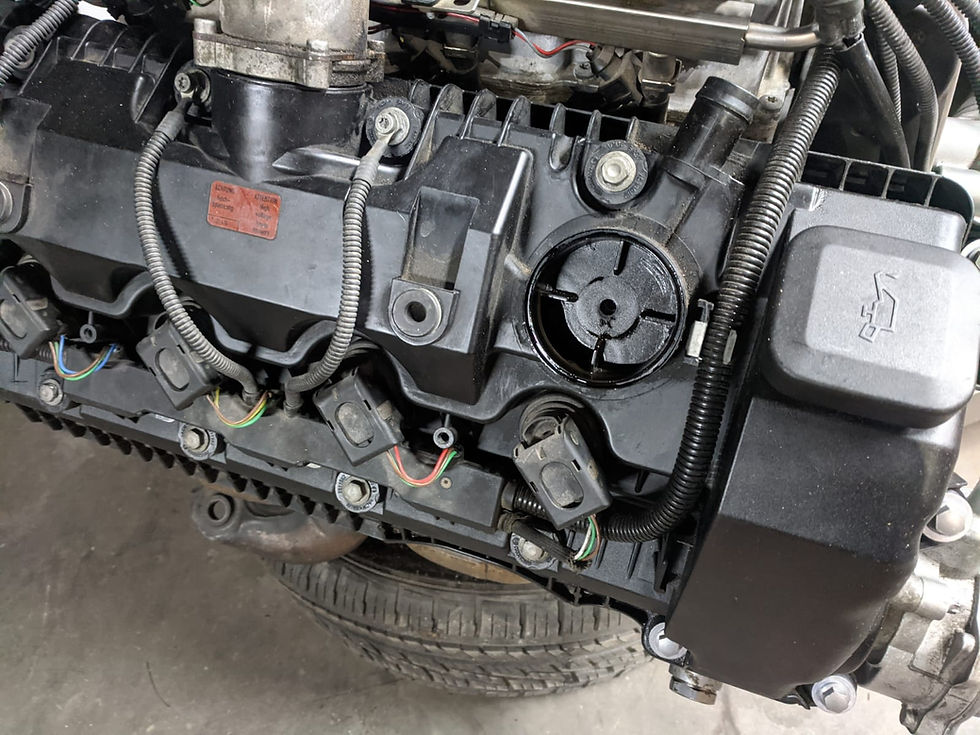
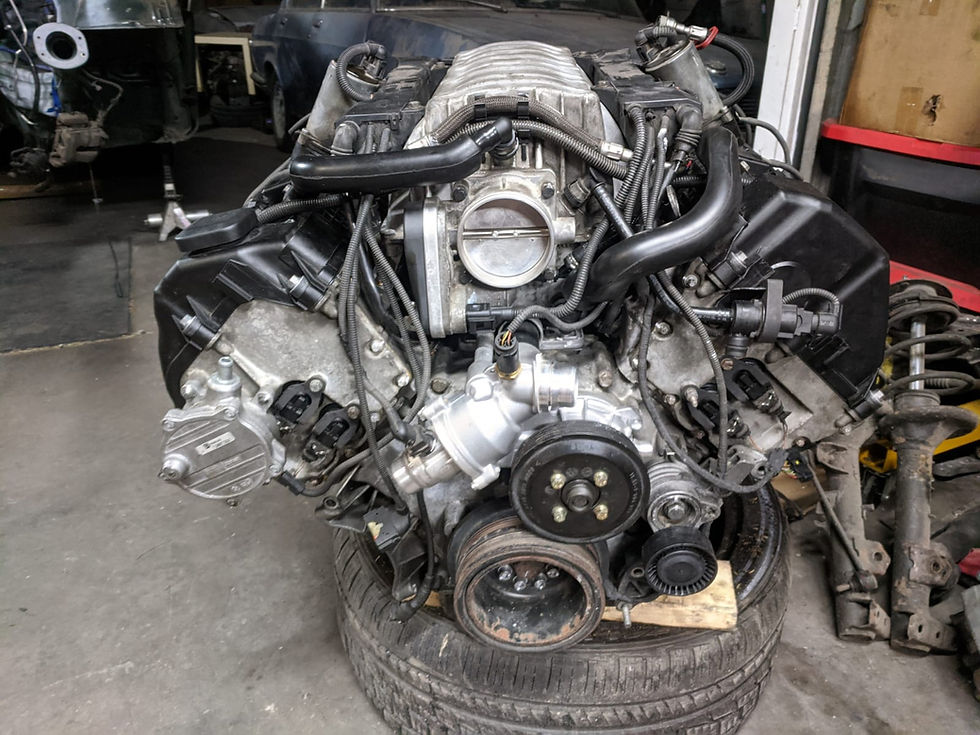
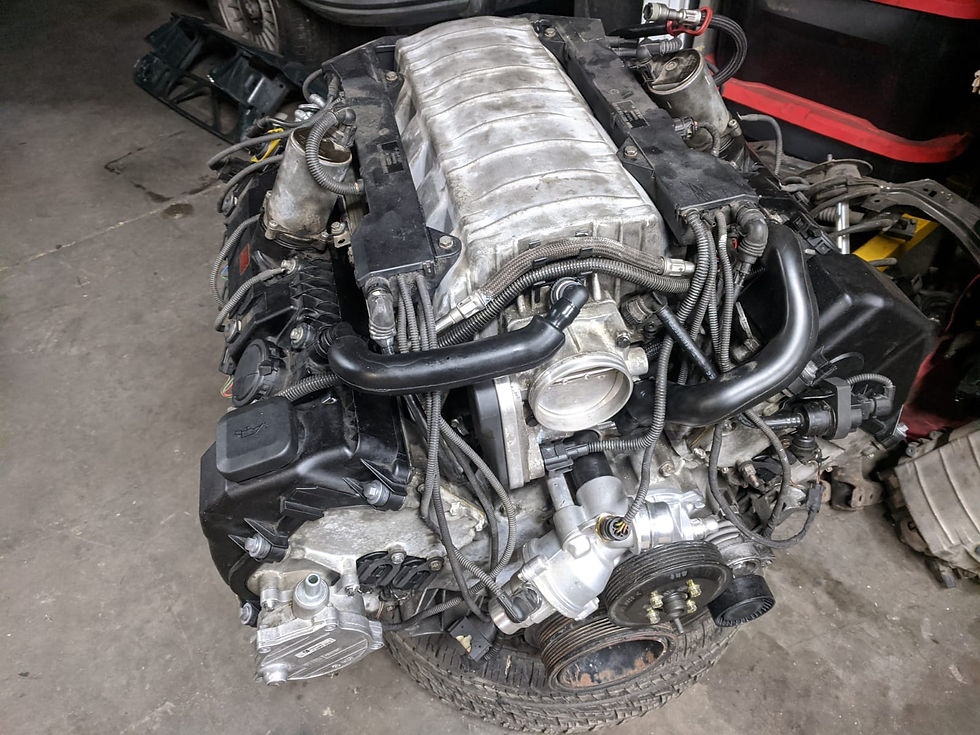
And how she sits now

Compared to how she was when I first got her, considering I didn't go out of my way to clean the engine, not too bad

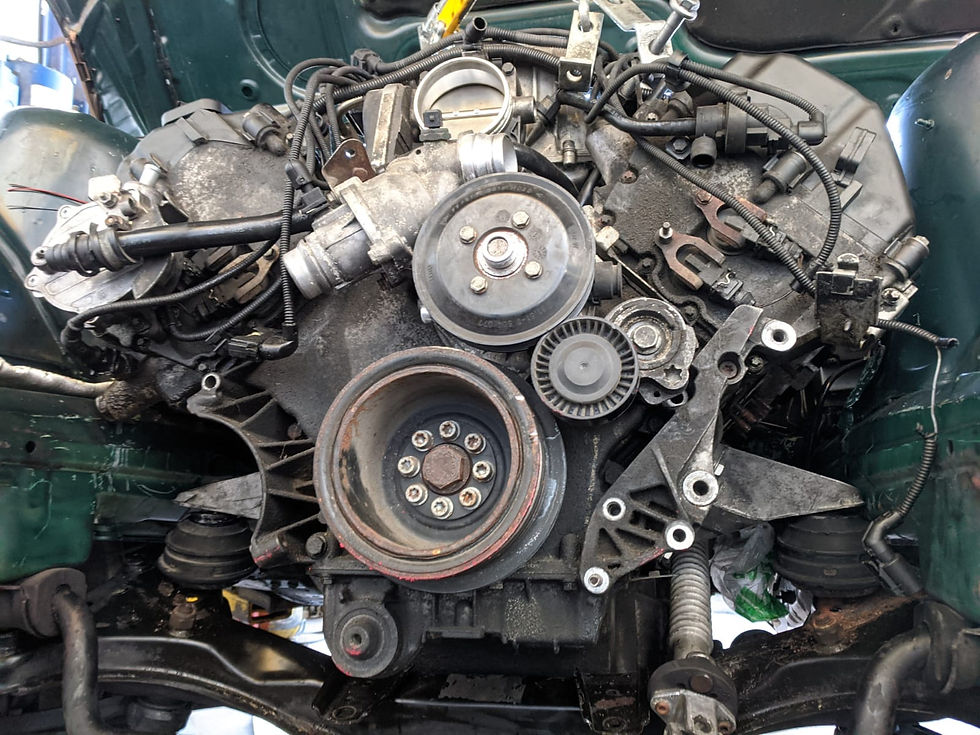
Also, it looks like the vacuum pump nipple looks like it was broken even back then (this first picture was when I took delivery of the engine). I wonder if I've mentioned that before in this build thread at some point. I probably have. Anyways... looking forward to seeing this engine in that chassis lol!

At this point there was technically one last teensy tiny job to complete...

Pop these suckers off


They ended up being in good shape actually, so I will keep them as spares after installing the new ones I had on hand

Some further research also indicated to me that as long as these PCV units were in good shape I would not need to run this ugly PCV hose with integrated PCV

So I was able to run this much nicer upper PCV line!

Technically there is still the clutch/flywheel assembly to get balanced and new pilot bearing to install and throwout bearing to install in the transmission ...but that's transmission prep not engine prep. With that in mind, my next goal was to be able to make the engine fit in the chassis, so we move onto the chassis fabrication in Part 15


Comments